Lightroom 4 is something special. I has breathed new life into my old camera by giving me almost a stop more in both the lights and darks. The difference in processing is quite something. I am not going to spend a lot of time talking about this here - much has been written elsewhere and all I would be doing at this point is repeating what should be obvious to anyone who is following the subject even remotely.
However, LR4.3 is pretty nifty, and that is worth mentioning. I am not 100% sure what fixes they did with the software, but I have noticed a big improvement in the tones I am seeing from my pictures.
Here is a shot from the Fuji X10 (processed from a DNG made from the Fuji Raw Format.)
 | |
| This picture is nothing special really as a picture. I used the onboard flash as a fill flash and just took it. There was no "purpose" to the photograph beyond seeing how fast the new memory card zipped along. What I noticed is that after minimal processing, none of the blacks are blocked up, and none of the highlights are blown. The colour and tone look better than what I was getting before, even with earlier versions of LR4 (never mind 3 or 2). |
Here are a couple of shots from my Olympus E-3 and 50-200mm swd lens (processed from DNG files made from Olympus Raw Format.)
 |
| Just a shot because I was bored while waiting for a friend to finish his photograph. This is my Golf. What is worthy of note is that the in camera jpeg preview showed the sky blown out totally since the camera metered off of the shadowed side of my black car. Once in LR4.3, the sky appeared with no processing. After minimal processing, detail came out in the sky and in the shadows under the car. The only blocked blacks are a little bit in the holes in the rims near the brakes and a tiny bit in the rear wheel well. None of the highlights were blown. Again, the tones are very progressive to my way of looking at it. |
 |
| To me, this one is just delicious. Yes, I got the exposure right, but the tones LR4.3 were able to bring out strike me as better than what I was getting before. |
Time for a direct comparison I think.
Here is an older photograph, processed with an older version of Lightroom. I believe it was Lighroom 2 seeing as it was taken in the fall of 2009 and I did not ever have Lightroom 1. Both pictures were denoised slightly using Nik Define 2.0
 |
| Processed in LR2 - note, the lights picture right are totally blown out. The shadows are also a bit too deep. |
 |
| Processed in LR4.3 - note, nothing is clipped or blocked up and the shadows could withstand more lightening without degrading the picture, particularly around the wing. Look at the picture large (click on it) to see what I mean. As an aside, this picture is noisier than the above one, but I did nothing to reduce it except for a slight bump in LR4 unlike with the original where I used Nik Define 2 since it holds up well when viewed at a normal distance. |
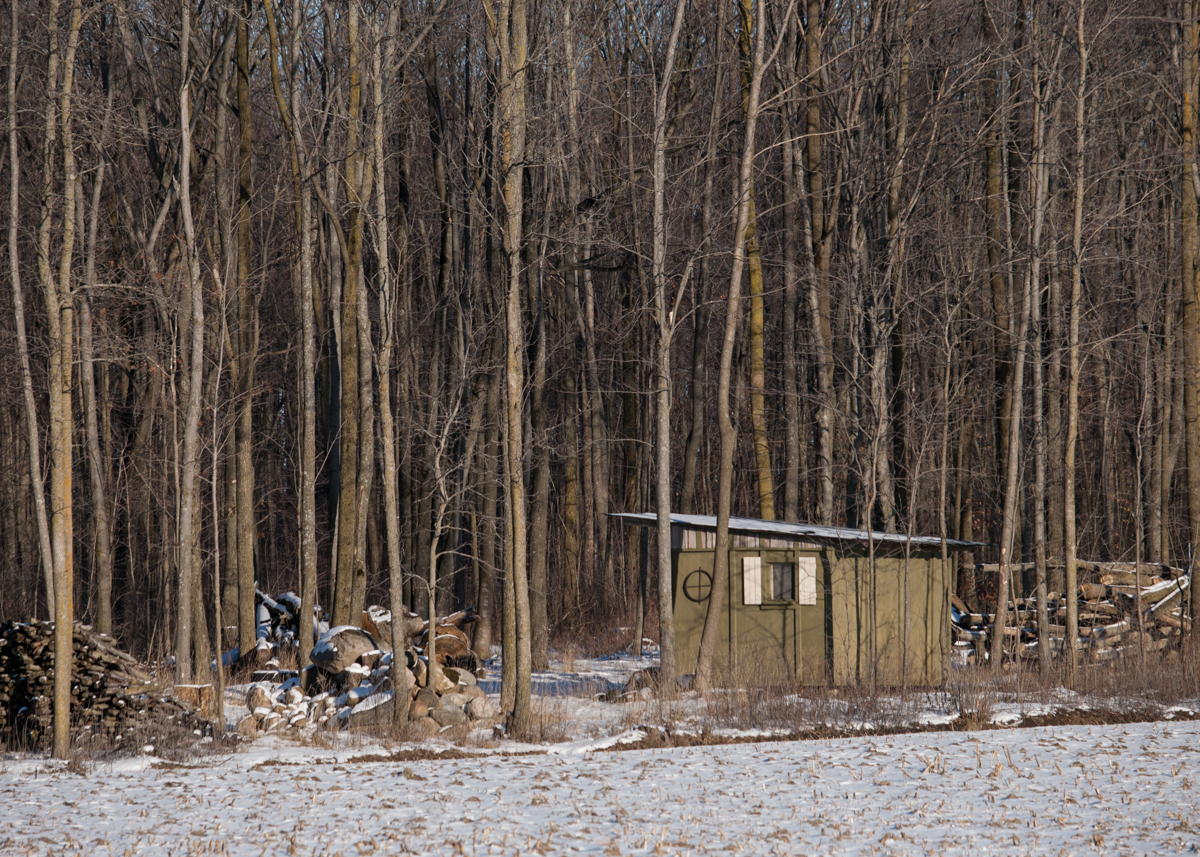
Here is a more challenging example of the differences between the older versions of Lightroom and LR4.3.
 |
| Processed in LR3. The blacks in the original Raw were completely blocked up on the island, stump, and lower right hand corner. Processing to the point seen here largely fixed that up. |
 |
| This is the exact same file processed in LR4.3. The blocking is gone, and so much more appeared - both detail and colour - than could be attained with LR3. |
In a word, yes.
No comments:
Post a Comment